7 Smart Tips to Repair Your Broken Water Heater in Wickliffe, OH
Dealing with a broken water heater can feel like trying to navigate a ship in stormy seas. But don't worry, you can take control of the situation with some straightforward steps. From checking the power supply to flushing the tank, these smart tips will help you get your hot water back in no time. But what if the problem is more complex than you think? Let's explore what you can do next.
Identify the Symptoms of a Malfunctioning Water Heater
Have you noticed anything unusual with your water heater lately? If you're experiencing inconsistent water temperatures or lukewarm water when you need hot water, it's a clear sign that something's wrong.
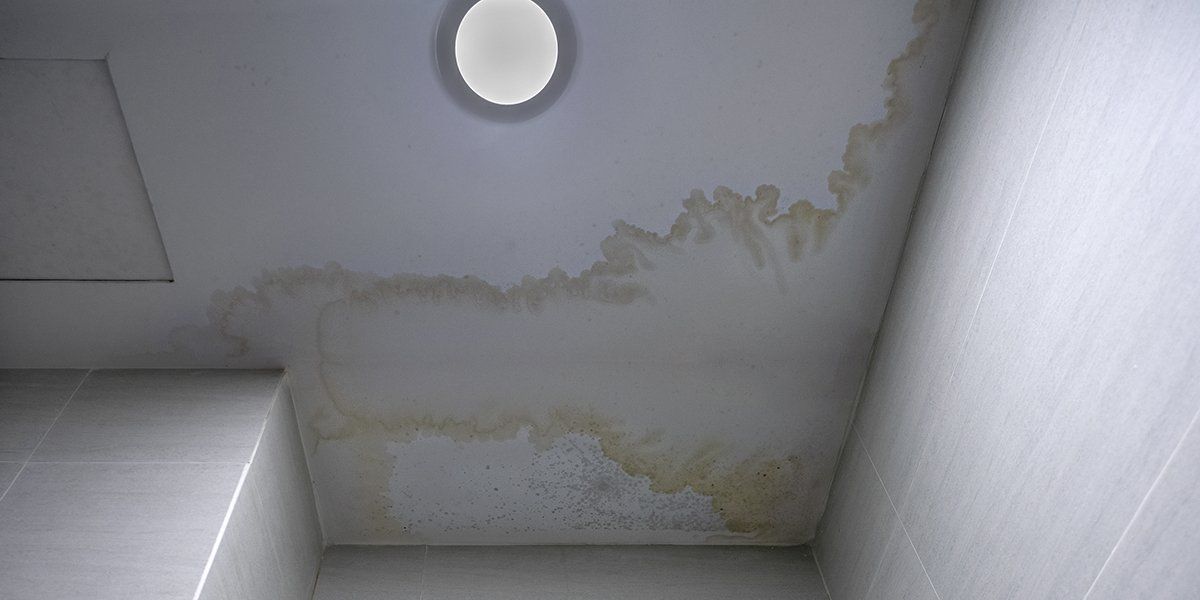
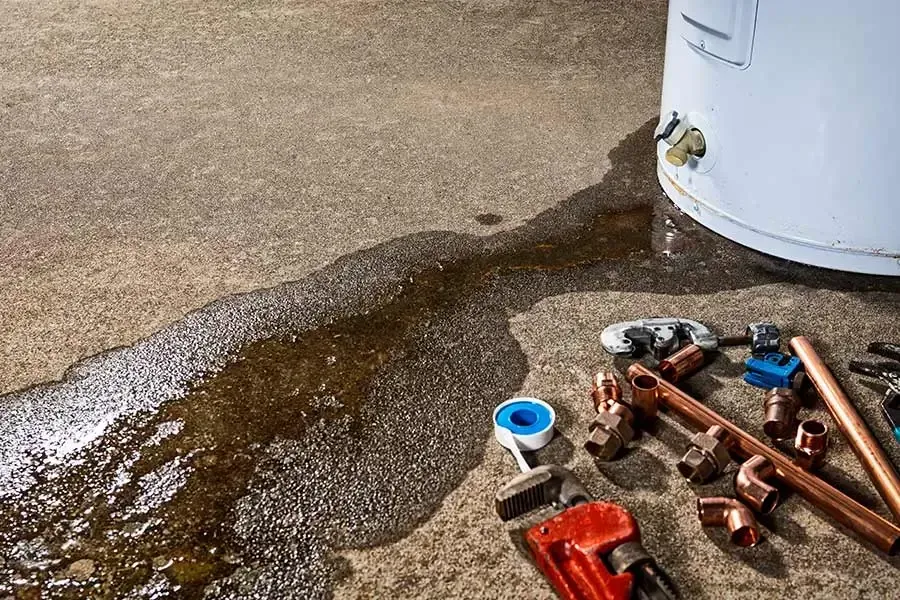
You might also hear strange noises, like popping or humming, which could indicate sediment buildup or other issues inside the tank. Additionally, check for any leaks around the base of the unit; even small puddles can signal a serious problem.
Discoloration in your water, like a rusty or brown tint, suggests corrosion or a failing tank. Finally, if you smell gas or a strange odor, it's essential to act immediately and contact a professional. Regular inspections can help detect corrosion issues early and prevent more significant problems.
Recognizing these symptoms early can save you from costly repairs down the line. Stay vigilant and trust your instincts; if something feels off, it probably is. Don't hesitate to reach out for help if you need it.
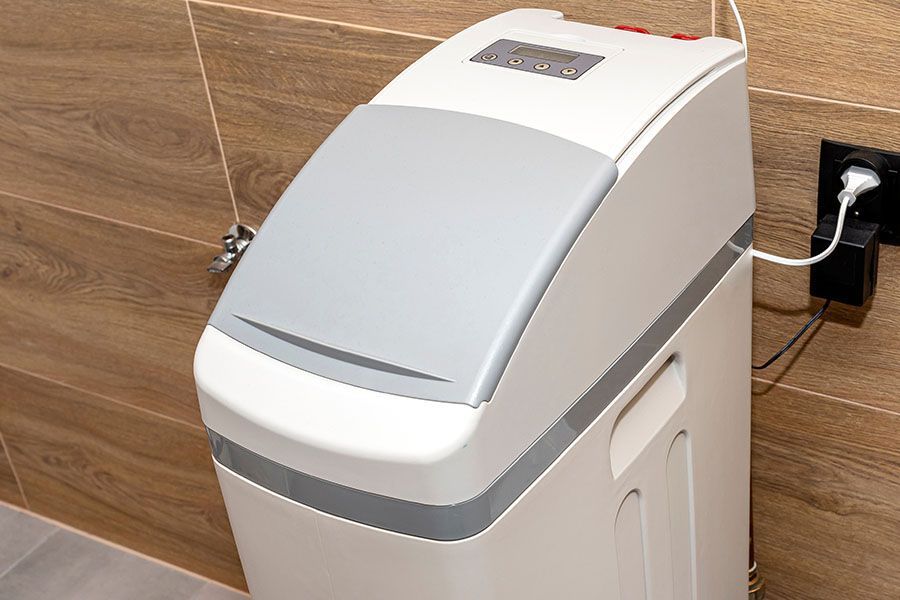
Check the Power Supply and Circuit Breaker
Before you get into any repairs, check the power supply and circuit breaker first.
Make sure the power connection is secure and examine the circuit breaker for any issues. If the breaker's tripped, simply reset it and see if that solves the problem. Additionally, ensure that your water heater is not older than 10 years, as older units are more prone to issues.
Inspect Power Connection
When your water heater isn't functioning, the first step is to inspect the power connection to confirm everything's in order. This confirms that power is flowing properly to your unit.
Here's what you should do:
- Check the power cord – Make sure it's securely plugged into the outlet.
- Inspect for visible damage – Look for frayed wires or burns on the cord.
- Verify the outlet – Test it with another appliance to confirm it's working.
- Look for tripped GFCI outlets – Reset any that may have tripped, affecting the power supply.
Examine Circuit Breaker
Checking the circuit breaker is essential in diagnosing your water heater issues.
Begin by locating your electrical panel and inspecting the breakers. Look for any that are in the "off" position or have a tripped appearance. If you find one, it could mean your water heater isn't receiving power.
It's vital to guarantee that the breaker supplying power to your water heater is functioning correctly. If it's not tripped, you might still want to reset it by turning it off and then back on.
Be cautious and check for any signs of damage or wear on the breaker itself. If you're unsure about the process, don't hesitate to consult a professional for assistance.
Your water heater needs reliable power to function efficiently.
Reset Tripped Breaker
After inspecting the circuit breaker, you may find that it's tripped, which can prevent your water heater from getting power.
Resetting it's often a simple fix. Here's what you need to do:
- Locate the breaker panel – It's usually in a basement, garage, or utility room.
- Find the tripped breaker – It'll be in the "off" position or in the middle.
- Reset the breaker – Flip it fully to the "off" position and then back to "on."
- Check your water heater – If it powers on, you're good to go; if not, further troubleshooting may be needed.
Inspect the Thermostat Settings
To guarantee your water heater is operating at its best, it's essential to inspect the thermostat settings regularly.
Start by checking the temperature setting; it should typically be around 120°F for peak performance. If it's set too low, you mightn't get enough hot water, while a higher setting can lead to scalding and increased energy bills.
Next, make sure the thermostat is functioning properly. You can do this by adjusting the temperature and observing if the water heats up accordingly. If you notice inconsistencies, the thermostat may need replacement.
Lastly, don't forget to check for any wiring issues or loose connections that could affect the thermostat's performance. Regular inspections can help prevent common plumbing issues that lead to costly repairs and ensure your water heater operates efficiently.
Taking these steps can help you maintain a consistent hot water supply and prolong the lifespan of your water heater. Regular inspections save you time and money in the long run!
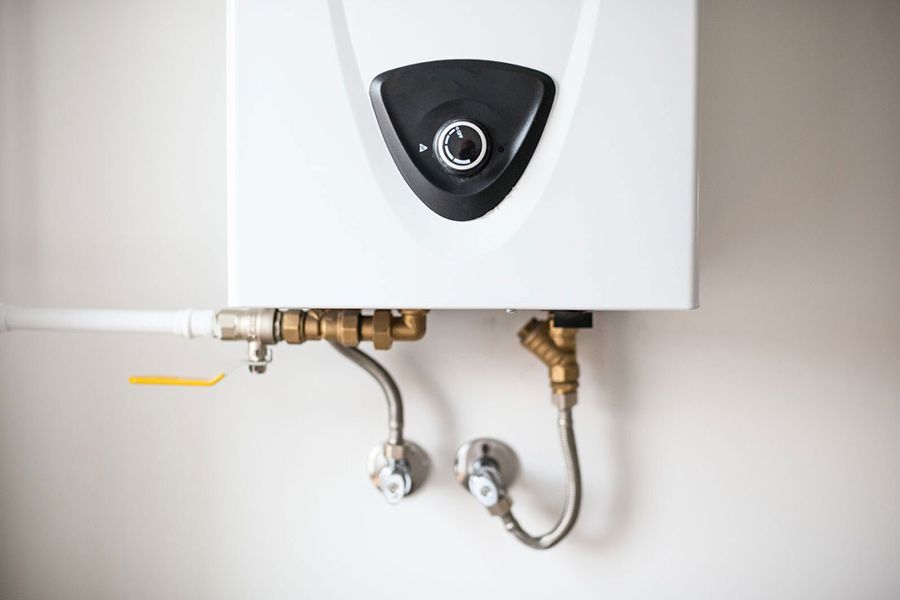
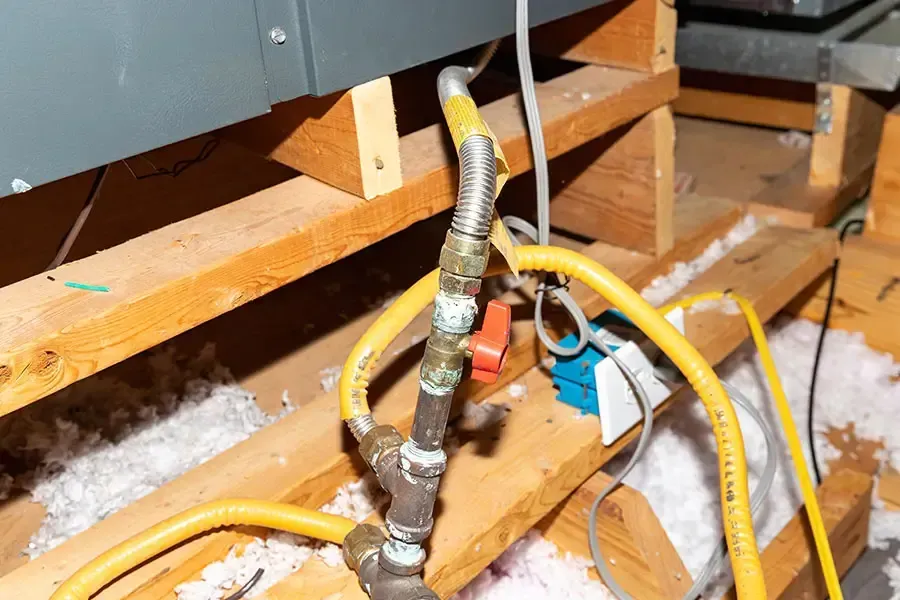
Examine the Water Heater Tank for Leaks
Maintaining your water heater's performance goes beyond just inspecting the thermostat; it's also important to examine the tank for leaks.
Leaks can lead to significant damage and higher utility bills, so don't overlook this critical step. Here's how to check for leaks effectively:
- Inspect the Tank Exterior: Look for any signs of moisture or water pooling around the base of the tank.
- Check Connections: Examine all inlet and outlet connections for drips or corrosion.
- Look for Rust or Corrosion: Pay attention to any rust spots on the tank, as they can indicate a potential leak.
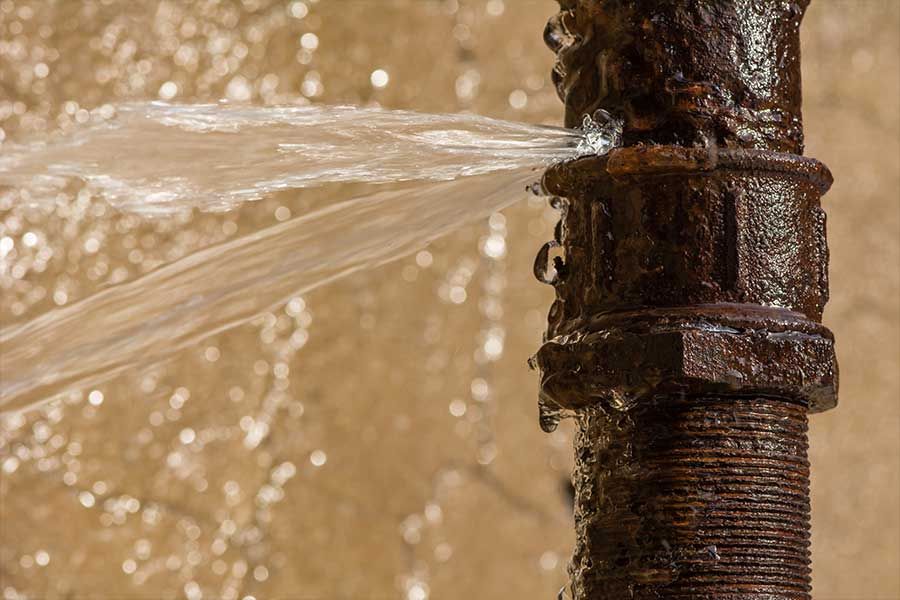
- Listen for Sounds: If you hear hissing or dripping noises, this might signal a hidden leak that needs immediate attention. Additionally, remember that corroded water pipes are a common cause of leaks, so be vigilant in your inspections.
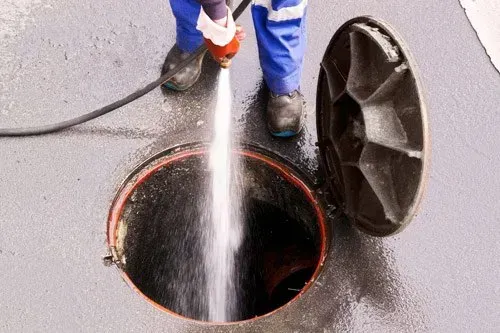
Flush the Tank to Remove Sediment Buildup
Flushing the tank regularly helps remove sediment buildup that can hinder your water heater's efficiency.
When minerals and debris accumulate at the bottom, they can cause overheating and reduce the effectiveness of your heater.
To flush the tank, first, turn off the power supply and close the cold water inlet valve.
Connect a garden hose to the drain valve at the bottom of the tank and place the other end in a suitable drainage area.
Open the drain valve and allow the water to flow out. As the tank empties, you may notice sediment being washed away.
Once the water runs clear, close the drain valve, remove the hose, and reopen the cold water inlet valve to refill the tank.
Don't forget to turn the power back on.
Regular flushing can extend your water heater's lifespan and improve its performance, so make it a part of your maintenance routine.
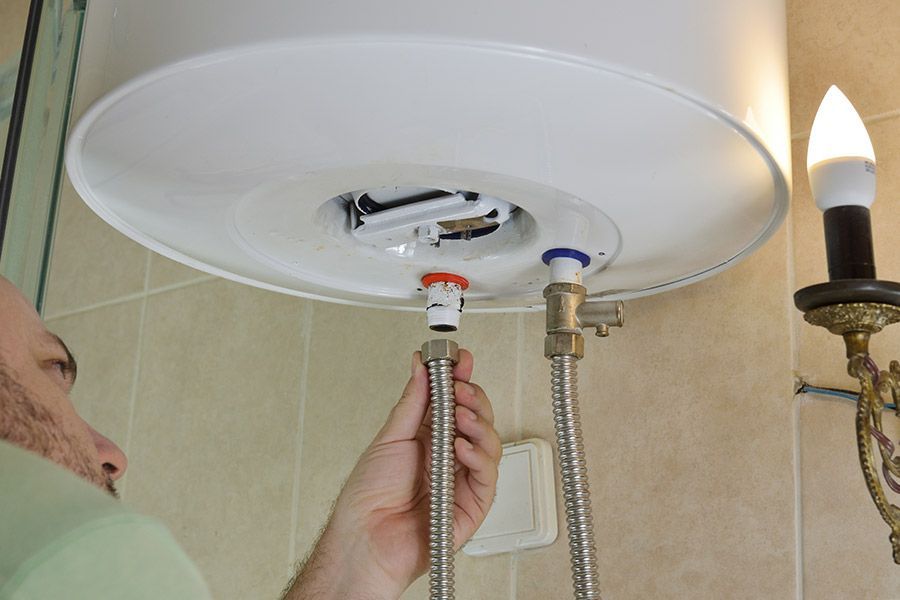
Replace the Anode Rod for Longevity
To keep your water heater running smoothly, you can't overlook the anode rod.
This essential component helps prevent corrosion inside the tank, extending its lifespan considerably.
Make it a habit to check and replace the anode rod every few years to guarantee peak performance.
Importance of the Anode Rod
An anode rod is an essential component of your water heater, playing a crucial role in preventing corrosion and extending its lifespan. By attracting corrosive elements, the anode rod sacrifices itself to protect the tank.
Here's why you should prioritize its maintenance:
- Corrosion Prevention: It helps prevent rust from forming inside your tank.
- Extended Lifespan: A well-maintained anode rod can greatly prolong the life of your water heater.
- Cost Efficiency: Replacing the anode rod is cheaper than replacing the entire unit.
- Improved Efficiency: A healthy rod enhances the overall efficiency of your water heater, saving you money on energy bills.
Regularly checking and replacing your anode rod is a smart investment for long-lasting hot water comfort.
Replacement Frequency Guidelines
Regular maintenance of your water heater includes checking the anode rod to confirm it's in good condition. This rod plays a vital role in preventing corrosion, and replacing it every three to five years is a smart practice.
However, if you notice significant corrosion or a foul smell, it's time to replace it sooner. For homeowners in Wickliffe, OH, keeping an eye on the anode rod helps extend the life of your water heater and can save you from costly repairs down the line.
When you replace the anode rod, choose a high-quality magnesium or aluminum option for the best protection. By staying proactive with this simple task, you guarantee your water heater operates efficiently and lasts longer.
Call a Professional for Complex Repairs
When dealing with complex repairs like a broken water heater, it's essential to recognize when to call in the professionals. Tackling these issues on your own can lead to further damage or safety hazards.
Here are some signs it's time to reach out to an expert:
- Leaking Water: If you notice significant leaks, it could indicate serious internal damage.
- Unusual Noises: Banging or popping sounds often signal sediment build-up or mechanical failure.
- Temperature Issues: If your water isn't heating properly or fluctuates wildly, a professional can diagnose the problem.
- Old Age: If your heater is over ten years old and showing signs of wear, it's best to consult a technician.
Calling Formica Plumbing & Sewer Co. guarantees you get reliable, expert service. Their licensed professionals are ready to handle your water heater woes with care and efficiency.
Conclusion
When your water heater starts misbehaving, don't panic. By following these smart tips, you can confidently tackle the common hiccups and keep your hot water flowing smoothly. Think of it as a little maintenance dance—checking settings, flushing out the tank, and giving the anode rod some love. And if the situation escalates into a more serious tango, don't hesitate to call in a pro. Your peace of mind and comfort are worth it!